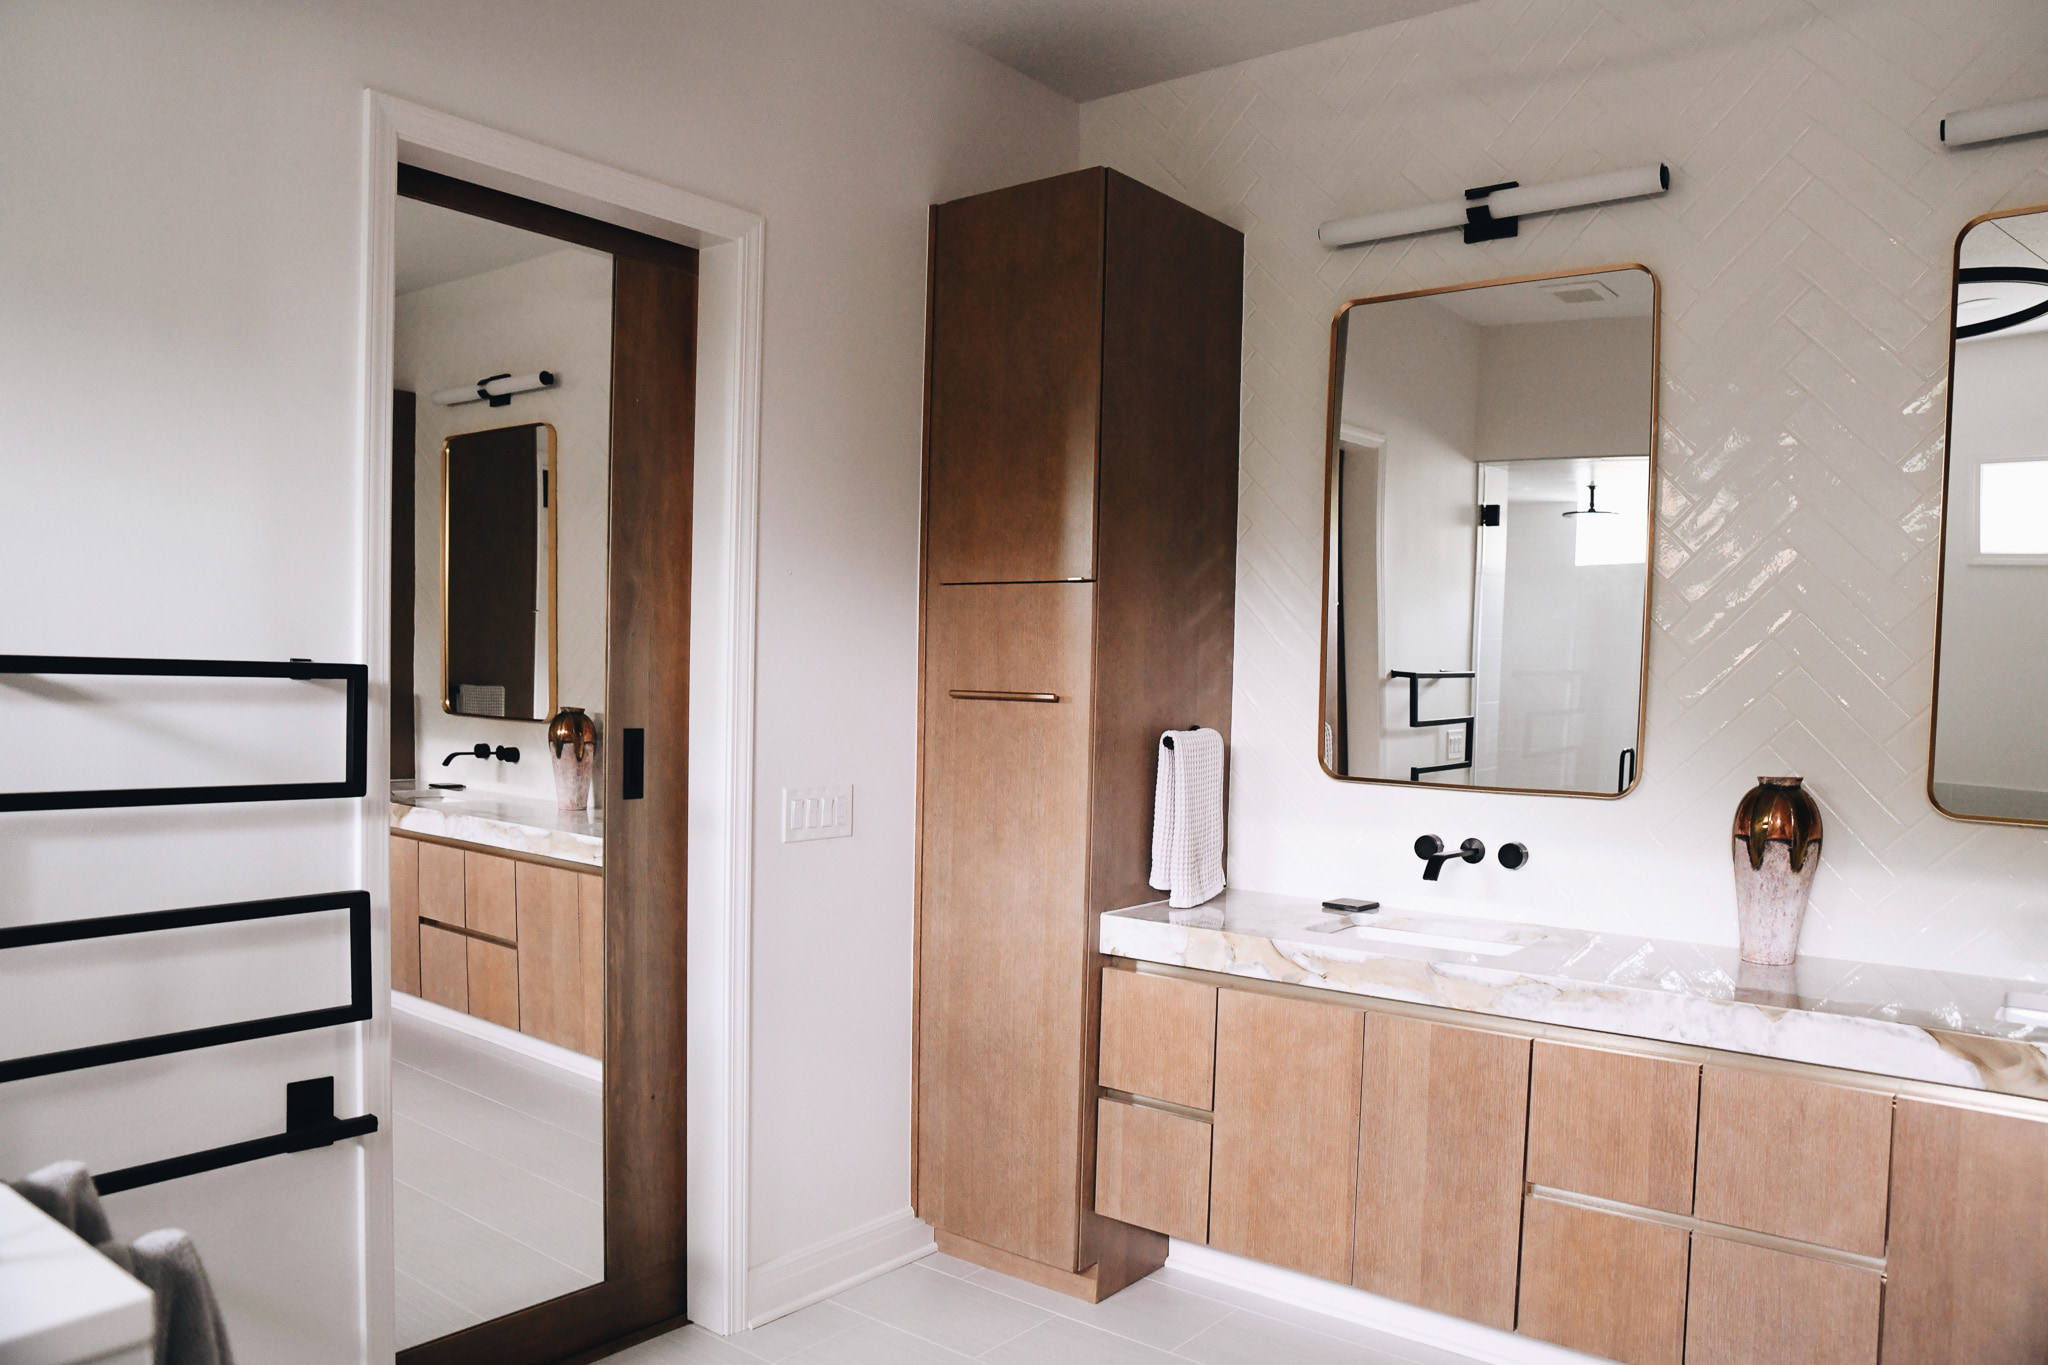
Kansas City Bathroom Remodeling specializes in all bathroom remodeling tasks an Olathe customer could ever need including traditional and custom tile. Laying tile for the floor or in a shower stall is definitely a chore you can do yourself, but it isn’t as easy as some DIY websites might lead you to believe.
If you don’t have the time or patience to install tile yourself, call Kansas City Bathroom Remodeling!
But if you’re a weekend warrior, let us provide you with the steps we follow for professionally installed bathroom tile.
A Few Tips Before You Begin
These tricks of the trade will be lifesavers if it’s your first time installing tile:
- Start in the middle and work your way to the walls
- Mix up the tiles from individual boxes so any color batch discrepancies
- Double check that you have all tools and materials before you have wet mortar mixed up
- Work in manageable 3’x3’ sections
When you’re ready to begin, you’ll want to have a far better grasp on each of these steps than is presented here! This guide is only meant to give you an idea of what is involved the tile-laying process.
1. Prepare the subfloor by leveling it out and filling any seams.
2. Determine your starting point by drawing reference lines on the subfloor. These lines will determine how professional your results look.
3. Mix your mortar to the perfect consistency. Mortar that is too wet won’t hold grooves and will take a long time to dry. Dry mortar may not adhere to the tile as well as you expect.
4. Apply mortar to the middle section of the floor using the notched side of your trowel. There’s an art to this application that comes with experience!
5. Lay the first tile at the point where your reference lines cross, then all subsequent tiles, placing spacers on the edges of each one. Press each tile down slightly into the mortar.
6. After each 3×3 section, level the tile with a rubber mallet.
7. Cut tile that will go nearest to the edges of the wall and install it in the same manner.
You’ll need to let the mortar dry for at least 24 hours before proceeding. Finally, do these last steps, and you’re all done!
8. File the rough edges of your tile, especially around doorways. This will prevent you from cutting your feet on the jagged edges.
9. Remove spacers and apply grout. This process deserves an explanation of its own!
Kansas City Bathroom Remodeling advises Olathe do-it-yourselfers to work carefully and slowly with mortar, removing excess after each step if necessary so it won’t dry on the surface of your tile. It’s extremely hard to remove once it’s dry, and you run the risk of damaging your new tile.
The entire process of laying tile involves a lot of technique and is much simpler the more skill you have. That’s why we recommend that you hire a general contractor like Kansas City Bathroom Remodeling for your tile needs.
#kcbr #kcbathremodel